
Imagine stepping into your shower after a long day and being greeted by a wave of eucalyptus-scented steam that melts your tension away. That's the magic of shower steamers — and when you add Epsom salt to the mix, you get something truly special. The best part? You can make them at home for a fraction of what you'd pay at a boutique wellness shop.
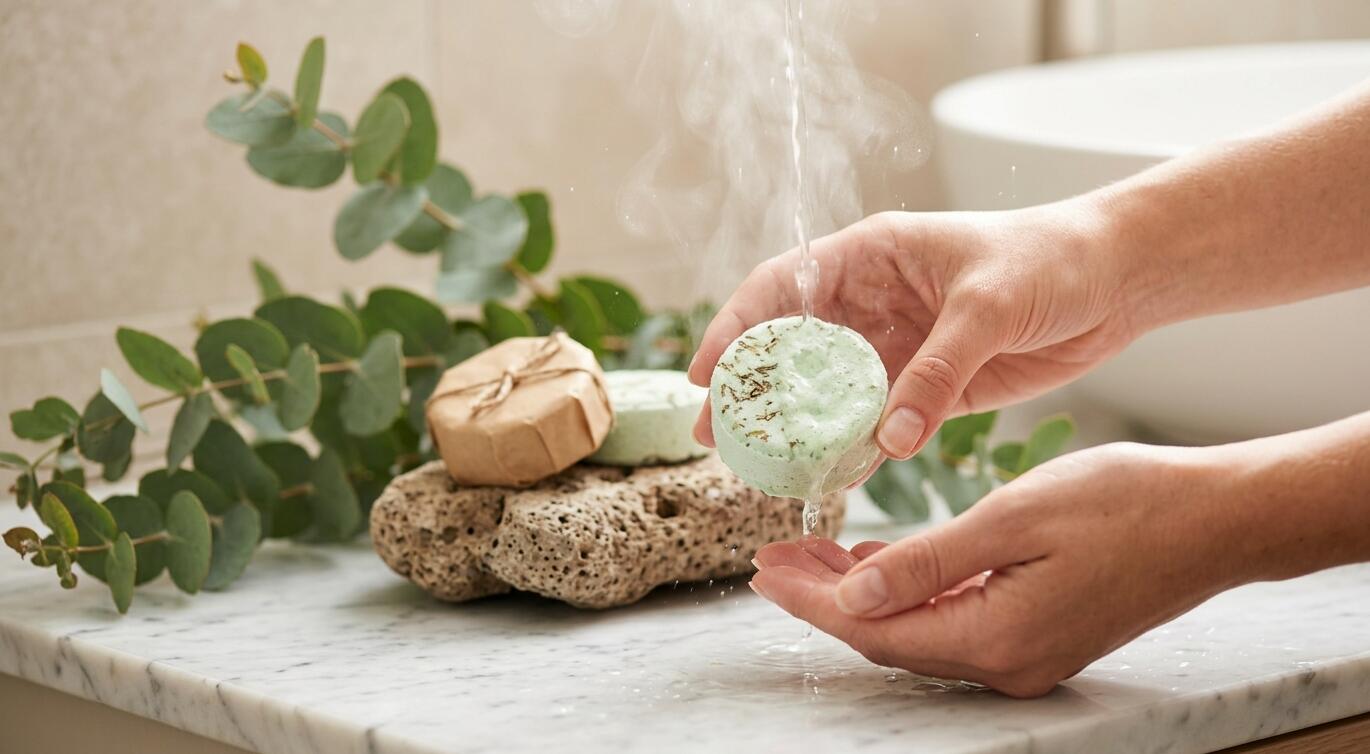
This guide walks you through everything you need to know, from choosing your ingredients to troubleshooting common issues. Whether you're crafting these for yourself or as thoughtful handmade gifts, you'll have a batch ready in no time.
What Are Shower Steamers and Why Add Epsom Salt?
Shower Steamers vs. Bath Bombs — Key Differences
If you've ever used a bath bomb, you already understand the basic concept. Shower steamers work on the same fizzing principle, but they're designed to dissolve slowly on your shower floor rather than being submerged in bathwater. As hot water splashes over them, they release aromatic steam that fills your entire shower enclosure.
These aromatherapy shower melts are perfect for people who don't have bathtubs or simply don't have 45 minutes to soak. A five-minute shower becomes a mini spa session without any extra time commitment.
Think of them as your personal aromatherapy diffuser — activated by nothing more than your regular shower routine.
The Benefits of Epsom Salt in Shower Steamers
Epsom salt (magnesium sulfate) isn't just a filler ingredient. It serves multiple purposes that make your steamers both more effective and more enjoyable to use.
First, it adds structural integrity. Steamers made without Epsom salt tend to dissolve too quickly, giving you maybe 60 seconds of fragrance before they're gone. The salt crystals slow down the fizz reaction, extending your aromatherapy experience to several minutes.
Second, there's the wellness angle. When Epsom salt meets warm water and steam, it releases magnesium that can be absorbed through your skin. Many people report reduced muscle tension and improved relaxation — which is why Epsom salt has been a bathtime staple for generations.
Who Should Try Homemade Shower Steamers
These are genuinely for everyone, but a few groups tend to love them most. Busy professionals who want a quick wellness ritual without rearranging their schedule. Wellness enthusiasts looking for a natural, chemical-free alternative to commercial products. And DIY gift-makers who want something impressive that costs very little to produce.
Speaking of cost — a pack of six essential oil shower tablets from a specialty store typically runs $15 to $25. Making them at home? You're looking at roughly $2 to $4 for the same quantity, especially once you've stocked your basic ingredients.
Ingredients You Need for Epsom Salt Shower Steamers
Base Ingredients Breakdown
Every shower steamer starts with four core ingredients. Here's what each one does:
Baking soda (sodium bicarbonate) — This is your fizzing foundation. When it meets citric acid and water, it creates that satisfying effervescence that releases your essential oils into the steam.
Citric acid — The other half of your fizz reaction. Getting the citric acid and baking soda recipe ratio right is the single most important factor in making steamers that actually work well.
Epsom salt — Adds texture, slows the dissolve rate, and delivers therapeutic magnesium. Use fine-grain for best results.
Cornstarch — Acts as a binding agent that helps your steamers hold their shape and harden properly during curing.
Choosing the Right Essential Oils
This is where you get to personalize your experience. Different essential oils serve different purposes:
For congestion relief: Eucalyptus and menthol are the classic combination. If you've ever wished you could make your own menthol shower discs for cold and flu season, this recipe delivers exactly that experience.
For relaxation and sleep: Lavender is the gold standard. It pairs beautifully with chamomile or cedarwood for an evening wind-down blend.
For morning energy: Peppermint and rosemary create an invigorating wake-up call that rivals your morning coffee. Add a few drops of lemon for extra brightness.
For mood elevation: Citrus blends — think sweet orange, grapefruit, and bergamot — are natural mood lifters that make your shower feel like sunshine.
Safety note: Some essential oils can irritate sensitive skin. Cinnamon bark, clove, and oregano oils are common culprits. Since steamers sit on the shower floor and mostly reach you through steam, skin reactions are rare — but it's worth knowing if you have sensitivities.
Optional Add-Ins for Customization
Once you've mastered the basics, you can get creative:
Dried botanicals like lavender buds or rose petals look gorgeous but are purely aesthetic. Use sparingly and consider your drain — a mesh drain cover helps prevent clogs.
Natural colorants such as mica powder or spirulina add visual appeal. A tiny pinch goes a long way.
Kaolin clay provides extra binding strength if you live in a humid climate where steamers tend to crumble.
Step-by-Step Recipe for DIY Shower Steamers with Epsom Salt
Exact Measurements and Ratios
This tested recipe yields 6 to 8 steamers depending on your mold size:
1 cup baking soda
⅓ cup citric acid
½ cup Epsom salt (fine grain)
¼ cup cornstarch
20–25 drops essential oil (your chosen blend)
Witch hazel or rubbing alcohol in a spray bottle
The ratio of baking soda to citric acid matters more than anything else. Too much citric acid and your steamers fizz out in seconds. Too little and they just sit there sadly. The 3:1 ratio above gives you a steady, satisfying fizz that lasts several minutes.
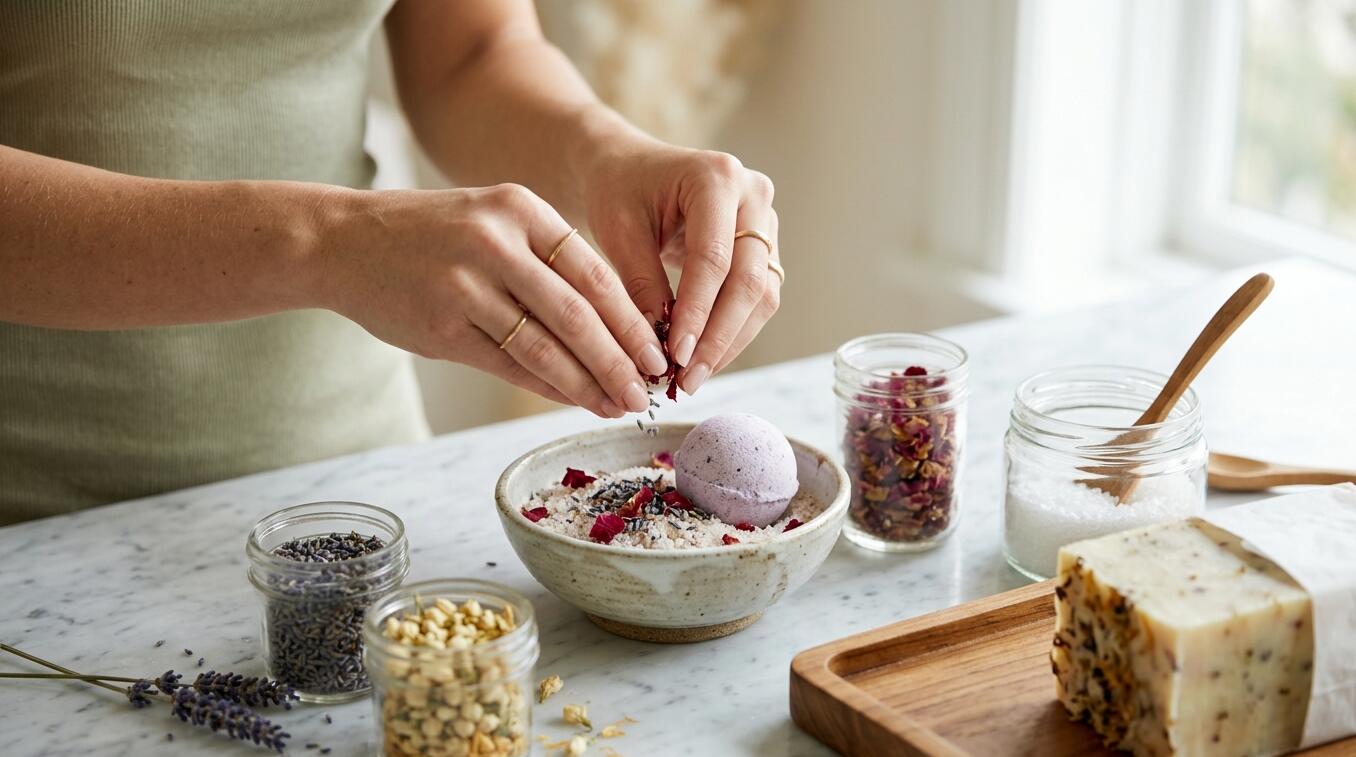
Mixing and Molding Instructions
Step 1: Combine all dry ingredients in a large bowl. Whisk thoroughly until everything is evenly distributed with no clumps.
Step 2: Add your essential oils to the dry mixture. Stir quickly and completely — you want the oil distributed before any moisture triggers the fizz reaction.
Step 3: Here's the critical technique. Spritz your witch hazel or rubbing alcohol one spray at a time, stirring between each spritz. You want the mixture to hold together when squeezed in your fist (like wet sand) without fizzing. This usually takes 5 to 10 sprays.
Step 4: Pack the mixture firmly into silicone molds. Really press it down — the tighter you pack, the more durable your finished steamers will be. Silicone molds work best because steamers pop out easily, but greased muffin tins work in a pinch.
Drying and Curing Time
Patience is key here. Let your steamers dry in the molds for at least 24 hours. In humid environments, give them a full 48 hours.
You'll know they're ready when they feel completely solid and don't give at all when you press gently on the surface. They should pop out of silicone molds cleanly without crumbling.
During curing, keep them in a dry room away from any moisture source. A bathroom (ironically) is the worst place to cure them. A bedroom closet or kitchen counter works well.
Tips for Getting the Perfect Fizz Every Time
Common Mistakes That Ruin Shower Steamers
After helping dozens of friends troubleshoot their first batches, these are the mistakes that come up again and again:
Adding too much liquid. This is the number one killer. If your mixture starts fizzing in the bowl, you've gone too far. Work in tiny spritzes and resist the urge to speed things up.
Using fragrance oils instead of pure essential oils. Fragrance oils are synthetic and often contain carriers that interfere with the fizz chemistry. They can also leave an oily residue on your shower floor. Stick with pure essential oils for both performance and safety.
Inconsistent packing. Overpacked steamers can crack as they dry. Underpacked ones crumble when you try to unmold them. Aim for firm and even pressure throughout.
How to Adjust the Recipe for Stronger or Milder Scent
The standard 20 to 25 drops of essential oil per batch gives a moderate scent throw. If you want something stronger, you can safely go up to 35 drops total — but that's the ceiling for a batch this size.
For a longer-lasting aroma, try the layering technique: pack your mold halfway, add 2 to 3 extra drops of oil directly onto that layer, then pack the remaining mixture on top. This creates a scent burst midway through the fizzing process.
Troubleshooting Crumbly or Non-Fizzing Steamers
If your steamers crumble when unmolded, they need more binding moisture. Remix the crumbled batch with a few extra spritzes of witch hazel and repack.
If they hold together but don't fizz well in the shower, your citric acid may have absorbed moisture during storage (it's hygroscopic). Fresh citric acid stored in an airtight container solves this. You can also slightly increase the citric acid ratio to ⅓ cup plus one tablespoon.
If the texture feels greasy or won't compact, you've likely added too much essential oil. Unfortunately, the best fix here is starting over with a fresh batch and using the greasy mixture as a foot soak instead.
How to Use Shower Steamers for Maximum Aromatherapy Benefits
Placement and Water Temperature Tips
Where you place your steamer makes a big difference. Set it on the shower floor where water splashes onto it indirectly — not directly under the main stream. A corner or ledge where it catches spray works perfectly.
Direct water pressure dissolves them too fast, wasting your aromatherapy experience. You want a slow, steady fizz that releases fragrant steam over several minutes.
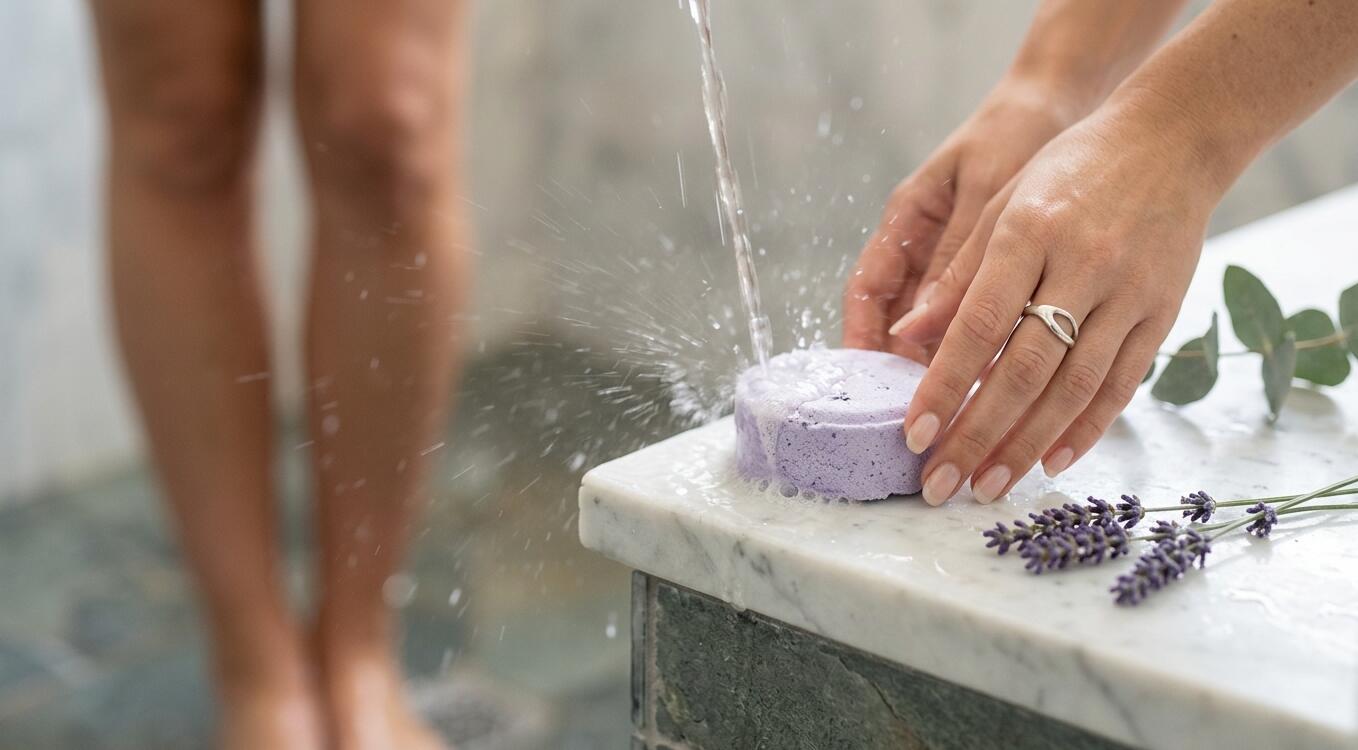
Warm to hot water produces the best steam and scent diffusion. If you prefer cooler showers, place the steamer closer to the water stream to compensate.
Pairing Steamers with Your Wellness Routine
Match your steamer blend to your time of day. Peppermint and citrus in the morning to energize. Lavender and chamomile at night to signal your body it's time to wind down.
For a full spa ritual, combine your steamer with a body scrub and some intentional deep breathing. Close your eyes, inhale the steam slowly through your nose, and exhale through your mouth. Even three minutes of this can noticeably reduce stress levels.
Storage, Shelf Life, and Gifting Ideas
How to Store Homemade Shower Steamers
Moisture is the enemy. Store your finished steamers in an airtight container — glass jars with tight lids or resealable plastic bags with the air pressed out both work well.
Keep them in a cool, dry place away from your bathroom. With proper storage, they'll maintain their fizz and fragrance for four to six months. You'll notice the scent fading before the fizz dies, so use your nose as your freshness guide.
Packaging DIY Shower Steamers as Gifts
Homemade bath bombs and shower steamers consistently rank among the most popular handmade gifts — and for good reason. They look impressive, smell amazing, and show genuine thoughtfulness.
For packaging, consider these options:
Shrink wrap bags with a ribbon — professional-looking and moisture-proof
Organza bags — elegant and reusable, though less moisture protection
Mason jars — stack two or three steamers inside with tissue paper between them
Gift boxes with a printed label listing ingredients and usage instructions
Always include an ingredient list on your label. Recipients with allergies will appreciate it, and it adds a professional touch that elevates your gift.
Frequently Asked Questions
Can I Use Shower Steamers in the Bath Instead?
You can, but they won't perform like traditional homemade bath bombs. Shower steamers are formulated to fizz slowly with minimal water contact. In a full bath, they'll dissolve quickly and the scent will be more subtle since it disperses into the water rather than concentrating in steam. They won't hurt anything — they just won't give you the same luxurious bath bomb experience.
Are Epsom Salt Shower Steamers Safe for Septic Systems?
Yes. All the core ingredients — baking soda, citric acid, Epsom salt, and cornstarch — are septic-safe and biodegradable. They dissolve completely in water and won't harm your plumbing or septic system. The only caution is with dried botanicals, which can accumulate in drains over time. Use a drain catch if you add flowers or herbs.
Can Kids or Pregnant Women Use These?
For children, stick with gentle essential oils like lavender or sweet orange, and use half the recommended amount. Avoid eucalyptus and peppermint for children under six, as menthol can be too intense for young respiratory systems.
For pregnant women, many essential oils are considered safe in the second and third trimesters, but some — including rosemary, clary sage, and wintergreen — should be avoided. Consult with a healthcare provider about specific oils, or opt for unscented Epsom salt steamers to enjoy the magnesium benefits without any essential oil concerns.
How Many Drops of Essential Oil Per Steamer?
As a quick reference:
Small steamers (1-inch molds): 2–3 drops each
Medium steamers (2-inch molds): 3–4 drops each
Large steamers (3-inch molds or muffin tin size): 4–5 drops each
These amounts assume you're distributing 20 to 25 total drops across your full batch. Adjust up slightly if you prefer a stronger scent, but don't exceed 5 to 6 drops per individual steamer regardless of size.
Now you have everything you need to create your own spa-worthy shower steamers at home. Start with a single batch using your favorite essential oil blend, and once you see how simple the process is, you'll likely find yourself experimenting with new combinations every week. Your morning shower will never feel the same again.