
There's something quietly satisfying about holding a bar of soap you made yourself, especially when it carries the soft, herbal scent of lavender. Maybe you want a rainy-afternoon craft. Maybe a heartfelt homemade gift, or the first step toward launching a small brand. Either way, lavender soap is one of the friendliest projects to start with.
This guide walks you through both beginner and advanced methods, plus what to know if you ever decide to turn your kitchen experiments into something sellable.
Understanding the Basics of Lavender Soap
Before you melt or measure anything, it helps to know what you're actually working with. Lavender soap isn't complicated. But a little background saves you from frustration later.
The Benefits of Lavender in Soap
Lavender has been part of bathing rituals for centuries, and not just because it smells lovely. Its essential oil is prized for a calming aroma that many people link to better sleep and lower stress.
On the skin, lavender is generally gentle and pairs well with most soap bases. Dried lavender buds add mild exfoliation and a rustic, artisanal look that photographs beautifully.
Two Main Approaches: Melt and Pour vs. Cold Process
Beginners almost always start with melt and pour. You buy a pre-made soap base, melt it, add your scent, and pour. No harsh chemicals, no long waiting.
Cold process is the traditional route. You make soap from scratch using oils and lye, which gives you full control over the recipe—but it demands patience and safety awareness. Choose based on how hands-on you want to be.
What You'll Need: Ingredients and Supplies
Gather everything before you begin. Soap-making moves faster than you'd expect once things start melting or reaching trace.
Key Ingredients
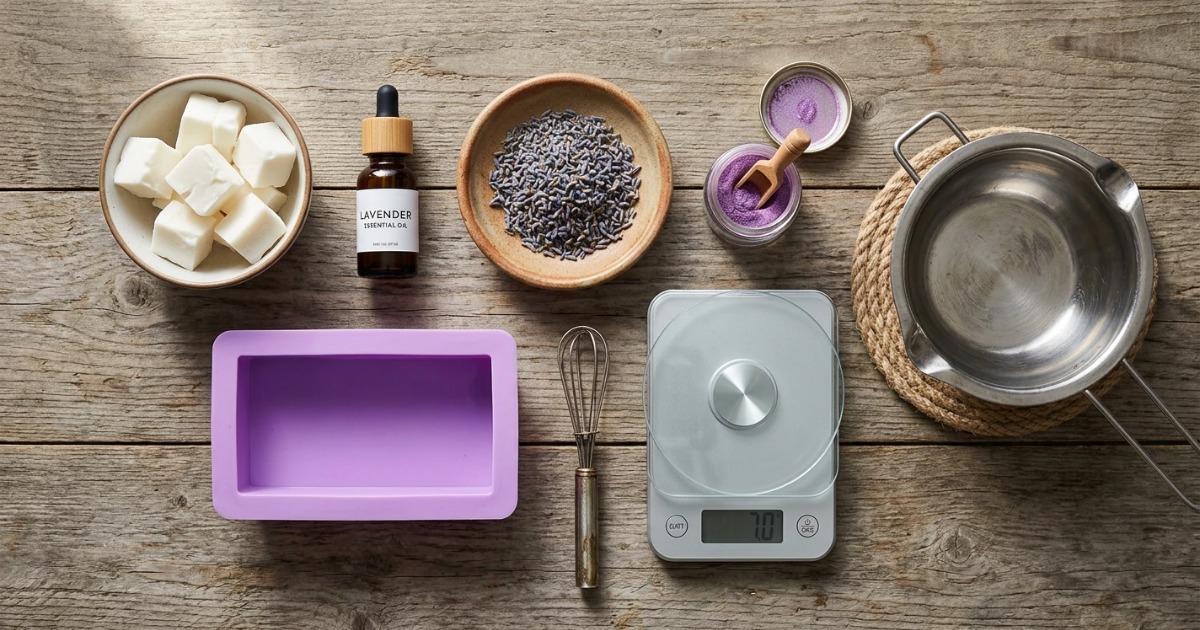
Soap base (for melt and pour) — shea butter, goat milk, or glycerin bases are popular.
Lavender essential oil — the heart of any lavender essential oil soap recipe.
Dried lavender buds for soap — culinary-grade is cleaner and less likely to brown.
Optional additives — purple mica, kaolin clay, or a splash of carrier oil.
Essential Tools and Equipment
You'll want silicone molds, a digital thermometer, heat-safe mixing bowls, a whisk or stick blender, and a small kitchen scale. For cold process, add gloves, goggles, and a well-ventilated workspace.
Most supplies are available at craft stores or online soap-supply retailers. Keep your soap-making tools separate from cooking utensils if you plan to work with lye.
Method 1: Melt and Pour Lavender Soap (Easiest for Beginners)
If this is your first batch, start here. Melt and pour lavender soap is forgiving and delivers results in under an hour.
Step-by-Step Melt and Pour Lavender Soap Recipe
Cut about 500g of soap base into small, even cubes for faster melting.
Melt in a double boiler or microwave in short 20–30 second bursts, stirring between each.
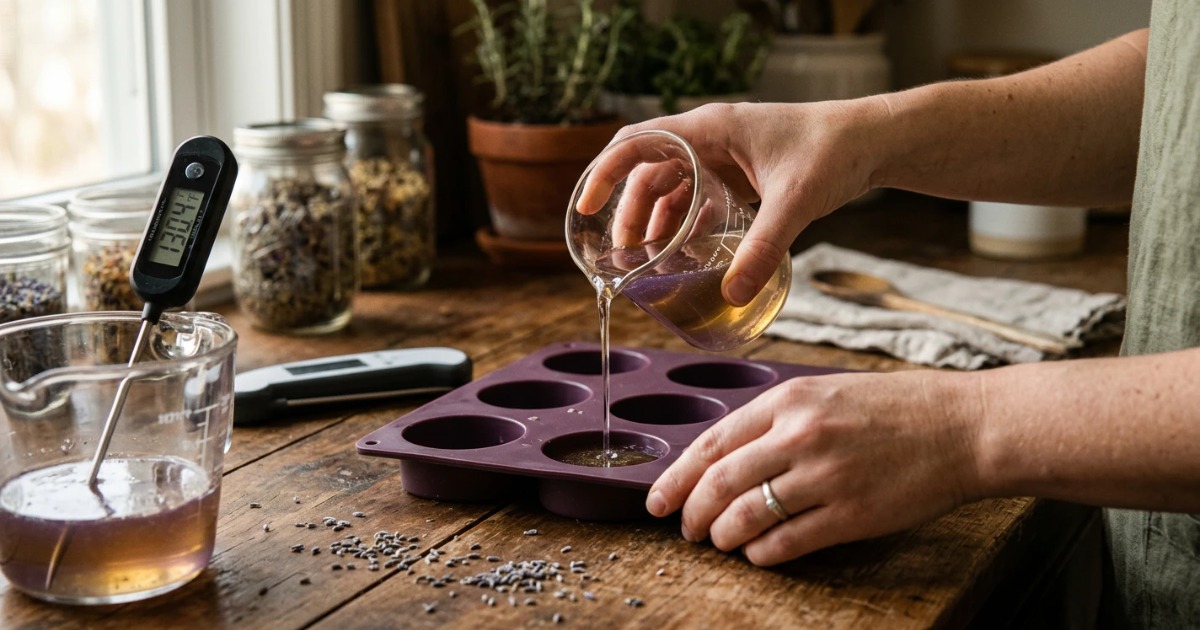
Once fully liquid (around 60°C / 140°F), remove from heat and let it cool slightly.
Add 15–20 drops of lavender essential oil and a pinch of colorant if desired.
Stir in a spoonful of dried lavender buds, then pour into molds.
Spritz the surface with rubbing alcohol to pop any bubbles, then let it set for a few hours.
Tips for a Smooth, Professional Finish
Pour at a lower temperature to keep buds suspended rather than sinking. If you want that even, floating layer of lavender, pour a thin base layer first, let it partially set, then add the buds in a second pour.
Work quickly but calmly—melt and pour begins to skin over as it cools.
Method 2: Cold Process Lavender Soap (For the Ambitious Maker)
Cold process soap gives you complete control over ingredients and texture. It's genuinely rewarding, but it involves lye, so respect the process.
Working Safely With Lye
Sodium hydroxide (lye) is caustic. Always wear gloves and eye protection, work in a ventilated area, and add lye to water—never the reverse—to avoid a dangerous eruption.
Keep vinegar nearby to neutralize accidental spills, and keep children and pets out of the room entirely.
Cold Process Lavender Soap Recipe and Trace Explained
A simple starter recipe: combine olive, coconut, and palm oils, then blend in your cooled lye-water solution. Using a stick blender, mix until the batter reaches "trace"—the point where it thickens to a pudding-like consistency and leaves a visible trail.
At light trace, add your lavender essential oil (roughly 30g per 1kg of oils) and any dried buds. Pour into molds and insulate for 24 hours.
Curing and Storing Your Bars
Here's where patience matters. Cold process lavender soap must cure for 4 to 6 weeks in a cool, dry, well-ventilated space. Curing lets excess water evaporate and the bars harden.
Properly cured homemade lavender soap bars can last a year or more when stored away from humidity and direct sunlight.
Customizing Your Lavender Soap
Once you've got the basics down, the fun begins. Small tweaks turn an ordinary bar into something distinctly yours.
Adding Natural Colors and Textures
Purple Brazilian clay or alkanet root delivers natural color without synthetic dye. Kaolin clay adds silkiness. A marble swirl of two tones looks impressive with minimal effort.
Blending Complementary Scents
Lavender plays well with others. Pair it with vanilla for warmth, chamomile for a spa-like calm, or a hint of citrus like bergamot for brightness. Start with small ratios and adjust—scents evolve as soap cures.
Common Mistakes to Avoid
Overheating your base is the most common slip-up. It can scorch the soap and dull the fragrance. Scent fading often traces back to adding essential oils while the mixture is still too hot.
In cold process, "seizing" happens when batter thickens too fast—usually from certain fragrances or over-blending. And uneven pours? Usually a temperature issue. Work at the right heat and you'll dodge most headaches.
Turning Your Hobby Into a Business? Read This First
Plenty of soap makers reach a point where friends and family start asking to buy their bars. It's flattering—and tempting. But selling personal care products is a very different game from making them at home.
The Challenge of Compliance and Certifications
Once money changes hands, regulators see you as a manufacturer. In North America, that can mean FDA cosmetic regulations and proper ingredient labeling. In the European Union, products require a Cosmetic Product Safety Report, a responsible person, and registration through the CPNP portal.
Markets in the Middle East add their own import and safety documentation. Add GMP-standard facilities, batch testing, and stability studies, and the paperwork alone can overwhelm a solo maker.
Why Partner With a Professional Manufacturer
If you love the creative side but dread the compliance maze—or simply can't scale from a kitchen to thousands of units—working with an established OEM/ODM manufacturer is often the smarter path. The right partner handles certifications, sourcing, and consistent production while you focus on your brand.
About Boymay: Your Trusted OEM/ODM Partner
Since 1995, Boymay has specialized in OEM/ODM manufacturing of bath bombs, shower steamers, and personal care products. Our 40,000㎡ facility runs 16 automated production lines with a daily output of around 160,000 sets, supported by a team of over 200 employees.
We hold internationally recognized GMP, ISO, FDA, and SMETA certifications—the exact credentials that make market entry across North America, Europe, and the Middle East far smoother. With an MOQ starting at just 1,000 units, high customization, and dependable lead times, we're built to support brands at every stage, from first launch to full retail scale.
If you want to sell but keep hitting walls on compliance and production capacity, we can bridge that gap.
Conclusion
Making lavender soap at home is a low-risk, high-reward way to explore a craft that's both relaxing and useful. Start with a simple melt and pour batch, experiment with scents and swirls, and build your confidence one bar at a time.
And if your hobby grows into something bigger, remember you don't have to navigate compliance and mass production alone. With the right manufacturing partner, turning a beloved lavender bar into a shelf-ready product is entirely within reach.
Frequently Asked Questions
Q: How long does homemade lavender soap last?
A: Melt and pour bars generally stay good for 6–12 months. Cold process bars, once fully cured, often last a year or longer if kept dry and away from sunlight.
Q: Can I use fresh lavender instead of dried lavender buds?
A: It's not recommended. Fresh lavender holds moisture that can encourage mold and cause discoloration in the bar. Dried buds are far more stable and give a cleaner result.
Q: Why did my lavender scent fade?
A: Usually because the essential oil went in while the soap was too hot, or the fragrance wasn't anchored. Add oils at cooler temperatures, and consider blending with a base note like patchouli or a touch of vanilla to help the scent last.
Q: Is melt and pour soap safe for sensitive skin?
A: It can be, if you choose a gentle base like goat milk or unscented glycerin and go easy on essential oils and colorants. Always patch-test a new bar before regular use.
Q: Can I sell my homemade lavender soap legally?
A: Yes, but it requires meeting local regulations—proper labeling, safety documentation, and often facility standards depending on your market. For anything beyond small local sales, partnering with a certified manufacturer like Boymay removes much of the regulatory burden and helps you scale confidently.